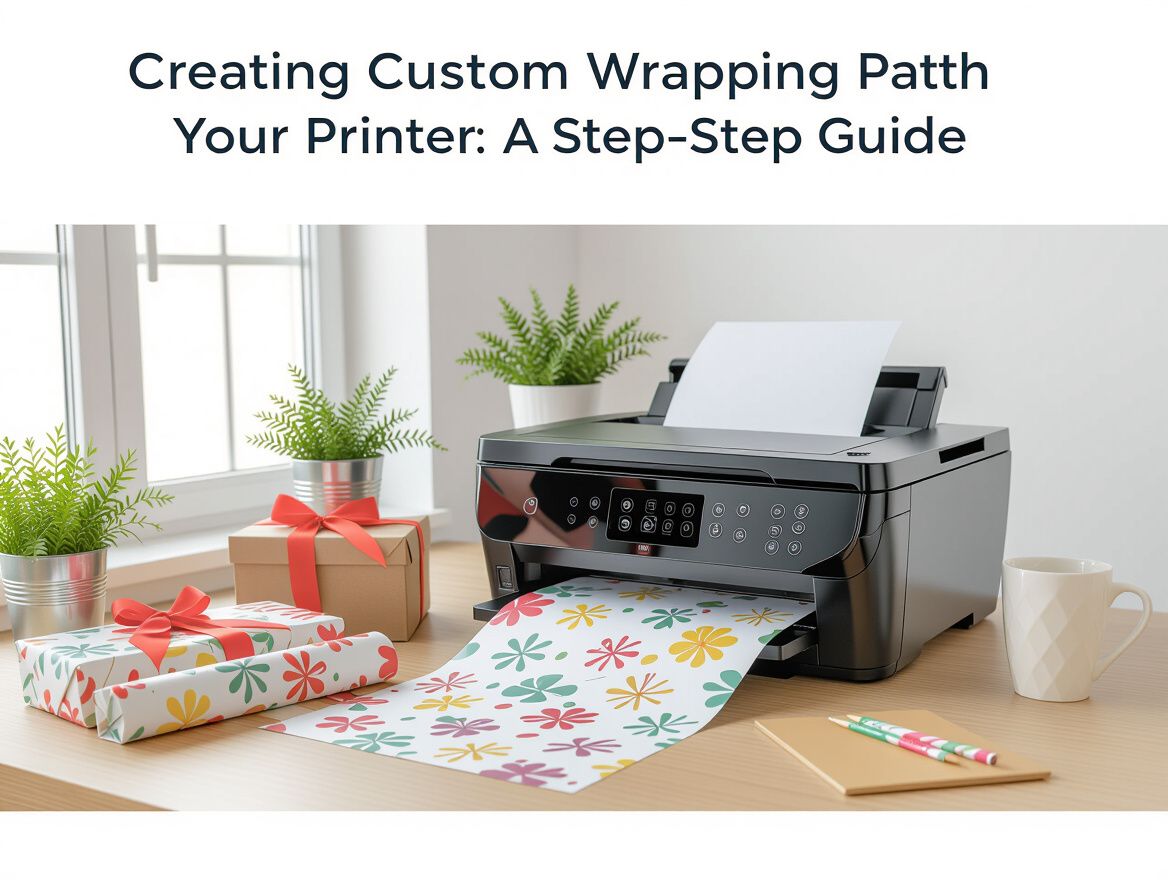
Creating Custom Wrapping Paper with Your Printer: A Step-by-Step Guide
Understanding the Benefits of Printing Your Own Wrapping Paper
Creating custom wrapping paper offers a unique way to add a personal touch to gifts and events. Here are some key advantages of printing your own wrapping paper:
-
Personalization: Tailor your wrapping paper to match the occasion, recipient's interests, or your personal style. Whether it’s a birthday, wedding, or holiday, unique designs can enhance the gift-giving experience.
-
Cost-Effectiveness: Printing your own wrapping paper can be more economical than purchasing specialized rolls from stores. For larger projects, investing in a printer capable of handling various paper sizes can further reduce costs, especially for bulk orders.
-
Creative Freedom: You can use your own artwork, photographs, or designs, allowing for complete creative control. This is especially beneficial for artists or those who enjoy crafting.
-
Quality Control: By selecting the paper type and print settings, you can achieve the desired finish and durability, ensuring that your wrapping paper is both visually appealing and functional.
-
Convenience: Having the ability to print at home means you can create wrapping paper on-demand, eliminating last-minute shopping trips or the need to settle for generic options.
Consider these benefits when deciding whether to invest time and resources into creating your own wrapping paper. The process not only enhances the gift itself but also showcases thoughtfulness and effort in your presentation.
Key Criteria for Choosing a Wrapping Paper Printer
When selecting a printer for creating custom wrapping paper, several essential features and specifications should guide your decision. Here’s a checklist to help you evaluate your options effectively:
-
Print Quality and Resolution: Look for printers that offer high resolution (at least 1200 DPI) for crisp details and vibrant colors. This is especially important for intricate designs or patterns you want to showcase on your wrapping paper.
-
Paper Compatibility and Size Options: Ensure the printer can handle various paper types and sizes, including thicker materials like 100-120 GSM wrapping paper. Consider whether you need standard sizes (like 8.5x11 inches) or larger formats (up to 13x19 inches) for bigger gifts.
-
Cost of Ink and Paper: Calculate the ongoing costs associated with ink and compatible paper types. Some printers may have a lower purchase price but higher ink costs, which can affect your overall budget for custom wrapping paper projects.
-
Speed and Efficiency of Printing: If you plan to print in bulk, consider the printing speed and efficiency. Look for printers that provide rapid output without compromising print quality, especially if you’re preparing for events or holidays.
By evaluating these criteria, you can make an informed choice that aligns with your needs for creating personalized wrapping paper at home.
How to Print Custom Wrapping Paper: Step-by-Step Instructions
Creating custom wrapping paper at home can be a rewarding project that adds a personal touch to your gifts. Follow these detailed steps to ensure a smooth printing process using your standard printer.
1. Preparing Your Design Files
-
Choose Your Design Software: Use graphic design software like Adobe Illustrator, Canva, or even Microsoft Word to create your wrapping paper design. Ensure your document size matches the paper dimensions you plan to use.
-
Set the Resolution: Aim for a resolution of at least 300 DPI to ensure that your printed design is sharp and vibrant.
-
File Format: Save your design in a high-quality format such as PDF or PNG to maintain clarity and color accuracy during printing.
2. Choosing the Right Paper
-
Paper Weight: Select a paper weight between 70-120 GSM for optimal results. Heavier paper provides better durability and a more luxurious feel, while lighter paper can be more economical and easier to work with.
-
Finish Options: Consider finishes such as matte, glossy, or satin to match the aesthetic of your gifts. Each finish can affect the appearance of colors and designs.
-
Test Printing: Before printing the entire roll, do a test print on regular paper to ensure your design looks as expected. Adjust colors and sizing as necessary.
3. Printer Settings and Techniques
-
Printer Type: While inkjet printers are commonly used for this purpose, laser printers can provide sharper results for certain paper types. Check compatibility with your chosen wrapping paper.
-
Adjust Settings: Set your printer to the highest quality printing mode. Ensure the paper type setting matches the thickness of your wrapping paper to avoid jams or smudging.
-
Print in Batches: If printing multiple sheets, consider printing in batches to maintain consistency in color and quality.
4. Post-Printing Tips for Cutting and Wrapping
-
Cutting: Use a sharp craft knife or scissors to cut your printed wrapping paper. A straight edge can help achieve clean lines.
-
Storage: Keep the printed sheets flat and stored in a cool, dry place to prevent curling or damage before use.
-
Wrapping Techniques: Use double-sided tape for a clean finish when wrapping gifts, and consider using complementary ribbons or embellishments to enhance the overall presentation.
By following these steps, you can create beautiful custom wrapping paper that adds a personal touch to your gifts, making any occasion even more special.
Trade-offs and Limitations of Home Printing
While printing custom wrapping paper at home offers a unique way to personalize gifts, there are several trade-offs and limitations to consider before diving into your project. Understanding these challenges can help you make an informed decision about whether home printing is right for you.
-
Quality Differences: Home printers, even high-end models, may not match the quality of professional printing services. Professional printers often use higher-quality inks and papers, resulting in sharper images and more vibrant colors. If your design features intricate details or requires a premium finish, this is an essential factor to consider.
-
Printer Jams and Ink Issues: Printing thicker paper, such as 100-120 GSM wrapping paper, can lead to jams and other mechanical issues in standard home printers. Additionally, ink smudging can occur if the printer settings are not correctly adjusted for the type of paper being used. It's advisable to conduct a few test prints to identify potential problems before committing to larger batches.
-
Cost Considerations: Although printing at home may seem cost-effective, it can become expensive if you're printing in bulk. The costs of high-quality ink and specialty paper can add up quickly. In many cases, purchasing professionally printed wrapping paper may be more economical, especially when considering the time and effort involved in home printing.
By weighing these factors, you can better assess whether the benefits of creating custom wrapping paper at home outweigh the potential drawbacks.
Frequently Asked Questions About Wrapping Paper Printers
When it comes to creating custom wrapping paper at home, many questions arise regarding the best practices and tools. Here are some common inquiries to help you navigate the process:
What types of printers are best for wrapping paper?
For printing wrapping paper, inkjet printers are generally preferred due to their ability to produce vibrant colors and detailed images. Laser printers can also be effective, especially for designs that require sharp lines and text. Consider a printer that supports high resolutions (at least 1200 DPI) to ensure the quality of your prints.
Can I print on different types of paper?
Yes, you can print on various types of paper, including standard printer paper, cardstock, and specialty papers designed for wrapping. When selecting paper, ensure it is compatible with your printer's specifications. Thicker papers (100-120 GSM) are recommended for durability, while lighter papers can be used for lighter gifts.
How do I avoid smudging and ensure quality prints?
To minimize smudging, it's crucial to use the correct print settings for the type of paper you are using. Allow prints to dry completely before handling them, and consider using a printer with high-quality ink that adheres well to the paper. Additionally, ensure your printer is clean and well-maintained to prevent any printing issues.
By addressing these questions, you can better prepare for creating your own custom wrapping paper, ensuring a smooth and enjoyable printing experience.
Final Thoughts on Creating Your Own Wrapping Paper
Creating custom wrapping paper is not just a fun project; it also enhances the gift-giving experience by adding a personal touch that store-bought options often lack. Here are some key benefits to consider:
-
Unique Personalization: Custom wrapping paper allows you to craft designs that reflect individual tastes or themes, making your gifts memorable and special for recipients.
-
Encouragement to Experiment: The process of designing and printing your own wrapping paper encourages creativity. Try different patterns, colors, and techniques to see what resonates best for various occasions.
-
Satisfaction of DIY: There's a sense of accomplishment in creating something from scratch, which can be particularly rewarding during holidays or celebrations.
As you embark on this creative journey, don’t hesitate to experiment with various designs and printing techniques. Each attempt can lead to new discoveries about what works best for your needs, ultimately enhancing your gift presentation. So gather your materials, unleash your creativity, and enjoy the process of making your own unique wrapping paper!